Application Security Groups to simplify your Azure VMs network security
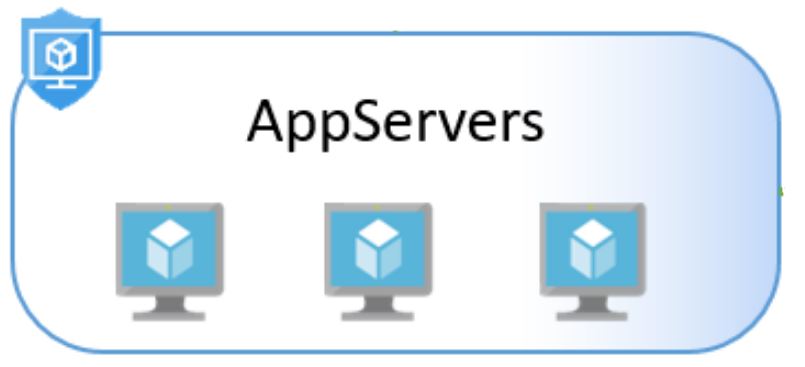
Application Security Groups helps to manage the security of the Azure Virtual Machines by grouping them according the applications that runs on them. It is a feature that allows the application-centric use of Network Security Groups.
An example is always the best way to better understand a feature. So let’s say that in a Subnet we have some Web Servers and some Database Servers. The access rules of the Subnet’s Network Security Group to allow http, https & database access to those servers will be something like this:

Using only the Network Security Groups functionality we need to add the IP addresses of the servers to use them to the access lists. There are two major difficulties here:
- For every rule we need to add all the IPs of the servers that will be included.
- If there is an IP address change (e.g by adding or removing a server) then all the relative rules must change.
Use Application Security Groups
Now, lets see how we can bypass this complexity by using Application Security Groups, combined with Network Security Groups.
Create two Application Security Groups, one for the Web Servers and one for the Database Servers
At the Azure Portal, search for Application Security Groups

Provide a name and a Resource Group

Create one more with name Database Servers and at the Resource Group you will have those two Application Security Groups:

Then go each Virtual Machine and attach the relevant ASG.
Click the Virtual Machine and then go to the Networking settings blade, and press the “Configure the application security groups”

Select the relevant ASG and press save:

Do the same for all your servers. Finally open the Network Security Group. Open the https rule, at my example is the “https2WebServers” rule. Change the Destination to “Application Security Group” and for Destination application security group select the Web Servers.

Same way change the database access rule and for Source add the “Database Server” ASG and for destination the “Web Servers” ASG. Now the NSG will look like this:

Now on when removing a VM from the Web Servers farm of the Database servers cluster there is no need to change anything at the NSG. When adding a new VM, the only thing we need to do is to attach the VM to the relative Application Security Group.
A Virtual Machine can be attached to more than one Application Security Group. This helps in cases of multi-application servers.
There are only two requirements:
- All network interfaces used in an ASG must be within the same VNet
- If ASGs are used in the source and destination, they must be within the same VNet

Pantelis Apostolidis is a Sr. Specialist, Azure at Microsoft and a former Microsoft Azure MVP. For the last 20 years, Pantelis has been involved to major cloud projects in Greece and abroad, helping companies to adopt and deploy cloud technologies, driving business value. He is entitled to a lot of Microsoft Expert Certifications, demonstrating his proven experience in delivering high quality solutions. He is an author, blogger and he is acting as a spokesperson for conferences, workshops and webinars. He is also an active member of several communities as a moderator in azureheads.gr and autoexec.gr. Follow him on Twitter @papostolidis.


pretty good explanation..thanks!
Thank you mohit!
Nice! easy to follow and understand.
How to display all interfaces members of an ASG?
On the ASG menu, I can’t find the option that list all interfaces associated to it.
So far, using GUI, you have to go to each Vm and check if the interface is part of the ASG.
is application security group available in classic model as well?
Hello gayatri
yes, they are available to classic deployment model as well, but with some limitations, like ” You cannot specify multiple IP addresses and IP address ranges in network security groups created through the classic deployment model” and “You cannot specify multiple ports or port ranges in the same security rule in network security groups created through the classic deployment model.” You can find more info at: https://docs.microsoft.com/en-us/azure/virtual-network/security-overview
Hello Charmiane
yes, you cannot list the NICs that are associated to an ASG. You need to check the NICs from the GUI or PowerShell. Maybe with a PowerShell script that will check the NICs and display a list with NICs and the associated ASGs.